DIGITAL MANUFACTURING · DIGITAL CRAFTS

Digital manufacturing techniques in pottery

Pottery combines an inherited craft with hand skill that nothing can replace, but complex forms and fine decoration remain difficult to produce when every stage relies on the hand alone. This is where digital manufacturing comes in: the idea becomes a file on the computer, and the file then becomes a real piece, made with high precision and repeatable.

Atoms Lab brings these modern techniques to pottery through an integrated workflow. It starts with 3D design, moves on to forming the piece by 3D printing in clay or with plaster moulds carved on CNC machines, then decorating it with stamps, lasers and ceramic decals, and ends with firing in programmed digital kilns. Throughout, the company provides technical consultancy, selects and installs the right equipment, and trains teams to operate it.

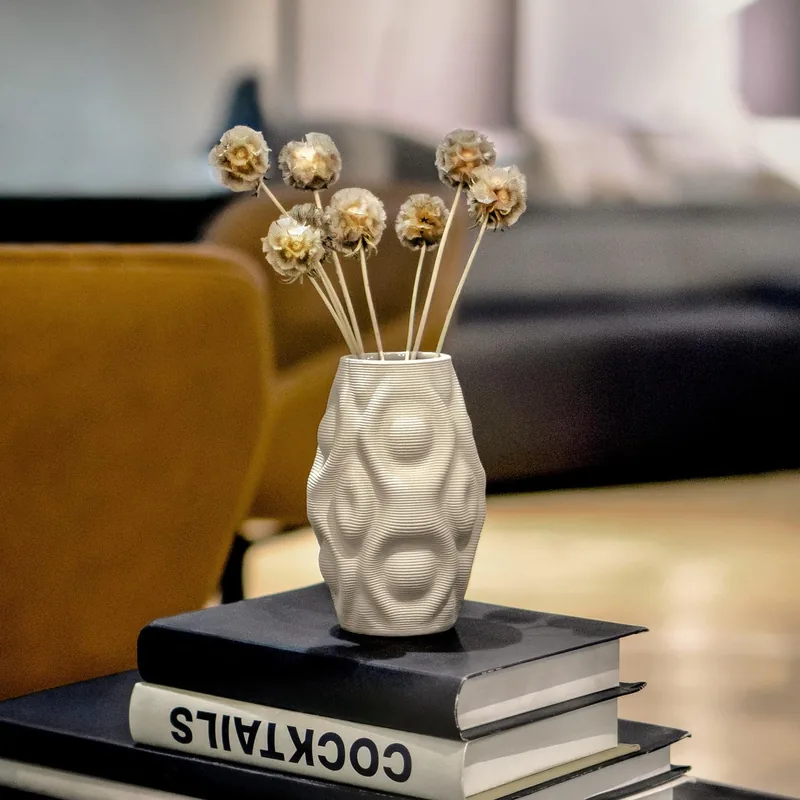
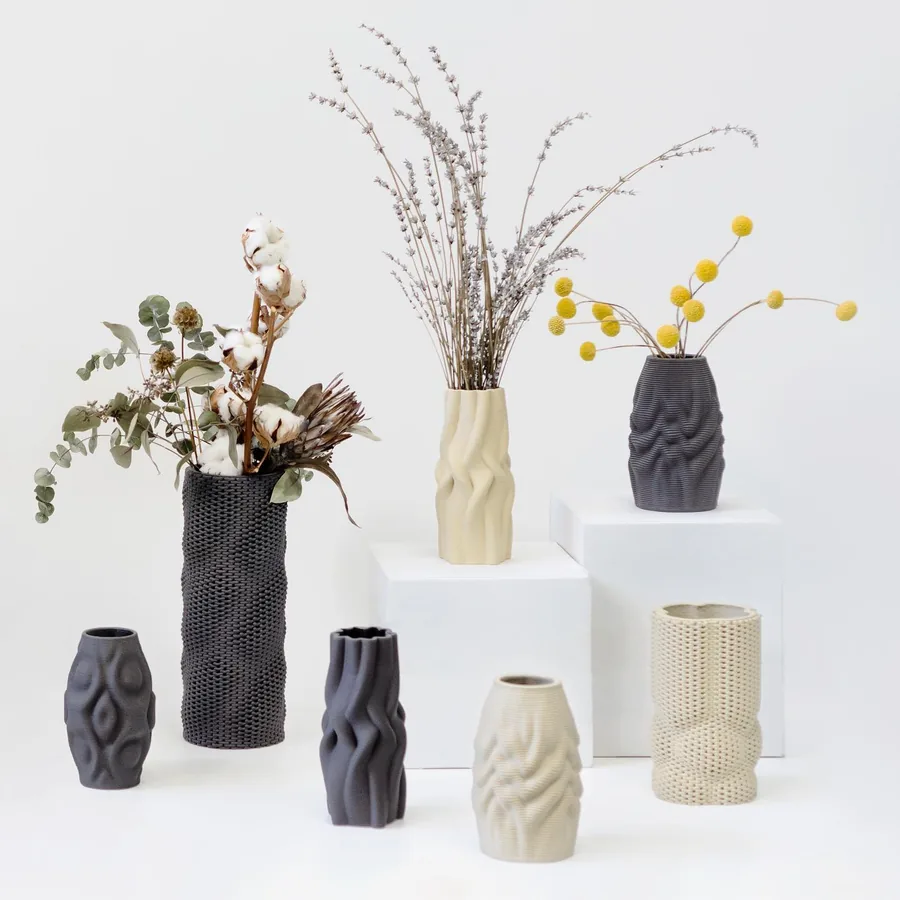
Pottery pieces 3D printed in clay
CRAFT AND DIGITAL TRANSFORMATION

What does digital manufacturing add to ceramics?

In the traditional method, the precision of a piece depends on the maker's experience, and dimensions and wall thickness can vary from one piece to the next. Making a mould also requires a hand-made model to cast plaster around, and some complex forms and fine decoration are difficult to produce by hand.

Digital manufacturing does not replace the human touch; it adds tools that make the work more precise, faster and more flexible:

Quality and precision

Every form is designed to set dimensions on the computer and clay shrinkage is calculated in advance, so pieces come out at the designed size with even wall thickness, and results are consistent from one piece to the next.

Speed

A design moves from idea to printed model in a short time, and several versions can be tried before the final form is approved, without waiting for a hand-carved model or a newly cast mould with every change.

Creativity and innovation

3D printing and parametric design make possible forms and textures that are hard to achieve by hand, such as undulating walls and repeating geometric patterns, opening the way to new designs.

Repeatability and production

The design stays a digital file that can be reprinted, or its mould recarved, whenever needed, so identical pieces can be produced in larger quantities without differing from the original.

Customisation and identity

The size can easily be adjusted, or a logo, name or special decoration added for each order, using printed and laser-engraved stamps, ceramic decals and direct engraving.

Less waste, preserved know-how

Errors are caught on the computer before production, which reduces waste, and designs and firing programmes are kept in a digital library that can be referred to, developed and shared.

THE DIGITAL WORKFLOW

From idea to finished piece

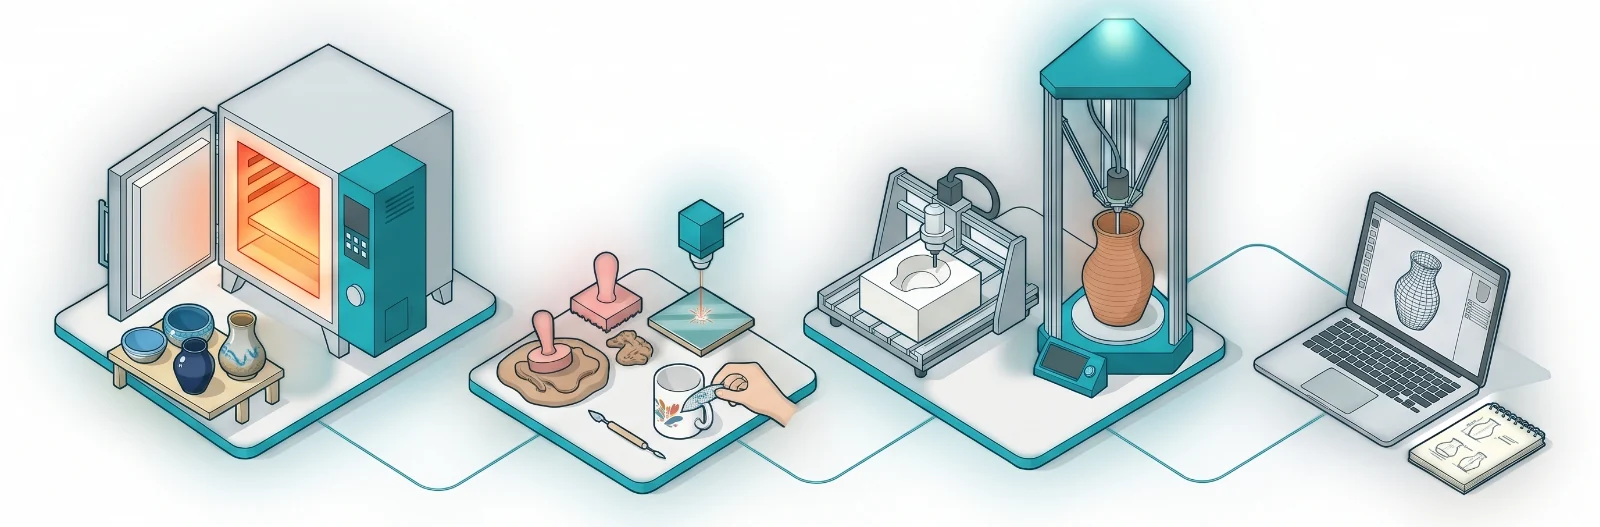
Producing a piece digitally involves four main stages, all starting from the same digital file. The following sections cover each one in detail.

The digital workflow: design on the computer, then forming by clay printing or CNC moulds, then decoration with stamps, laser and decals, then firing in a digital kiln
  1. 1

    3D design

    Modelling the piece on the computer, calculating shrinkage, and preparing the files for printing, moulds and stamps.

  2. 2

    Forming

    Printing the piece directly in clay, or slip casting it in a plaster mould carved on a CNC machine.

  3. 3

    Decoration

    Printed or laser-engraved stamps, colour ceramic decals, and direct laser engraving on the piece.

  4. 4

    Firing

    Programmed firing in a digital kiln fixes the form and colours, with consistent results from batch to batch.

STAGE 1

3D design

From idea to production-ready file

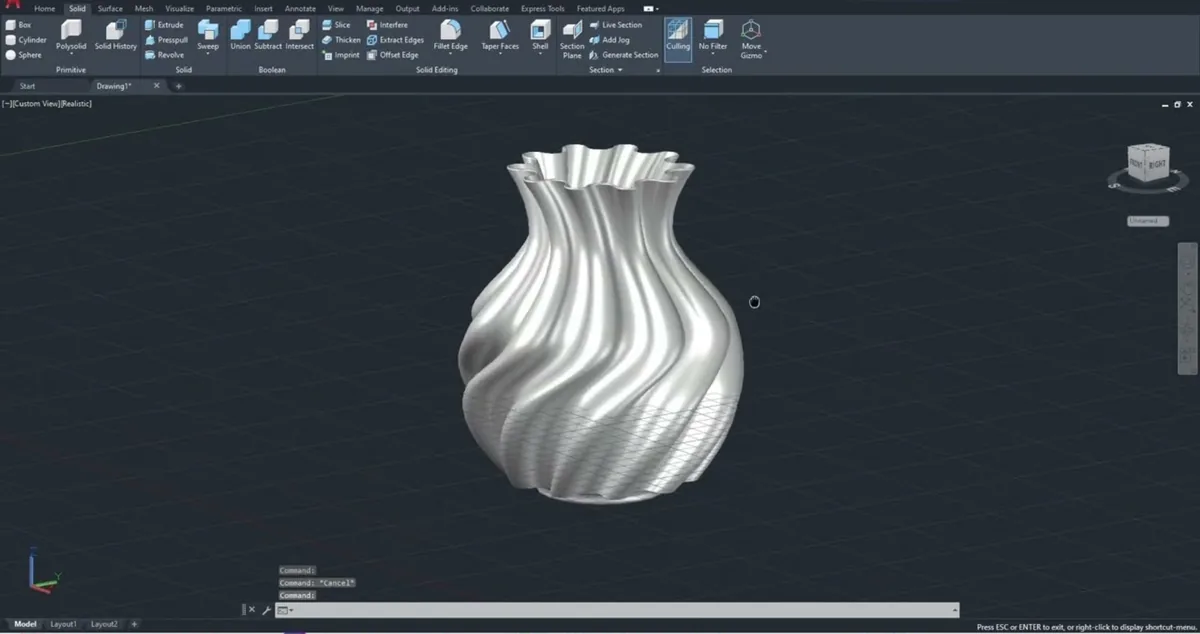
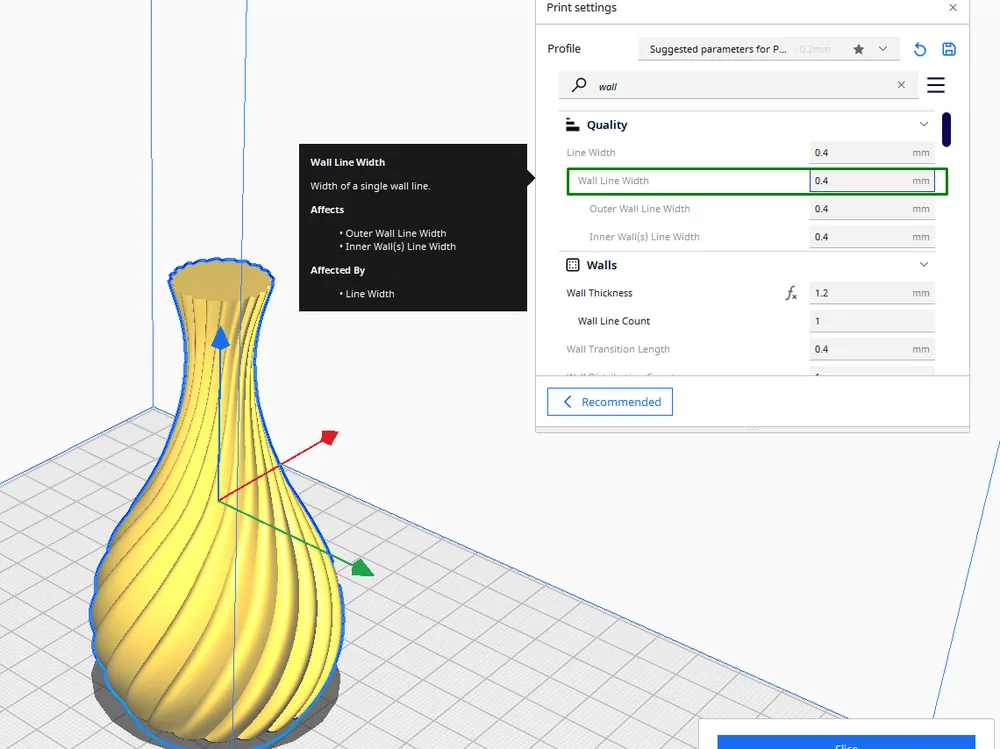
Every piece begins with a model designed precisely in 3D design software. The clay's shrinkage during drying and firing is calculated in advance, and the design is scaled up by the right amount so the finished piece comes out at the required size.

The moulds, stamps and everything else the piece needs in later stages are designed from the same file, and any change to the form is made on the computer in minutes instead of starting the work again from scratch.
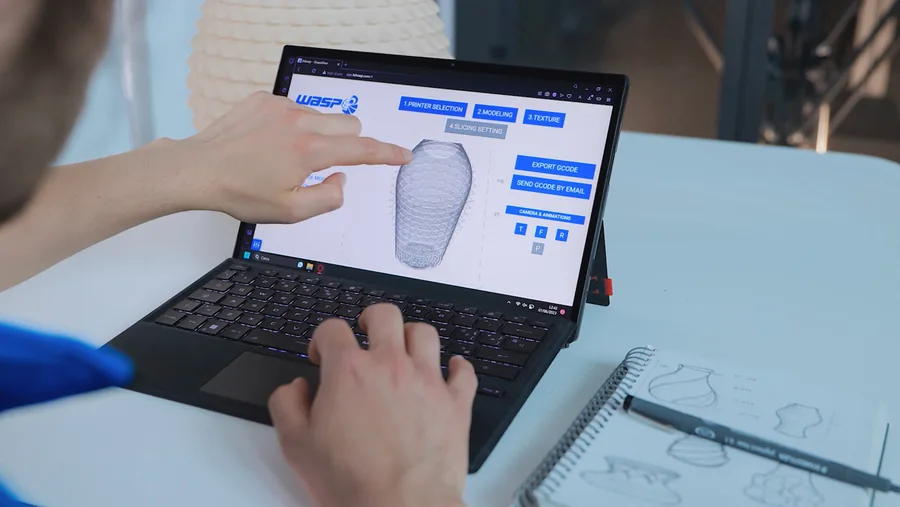
A pottery vessel designed in 3D on a computer before printing
STAGE 2: FORMING

Two ways to make the piece

After design, the piece is formed in one of two ways, depending on its nature: direct printing in clay for one-off pieces and complex forms, or digitally carved plaster moulds for repeat production.

For one-off pieces and complex forms

3D printing in clay

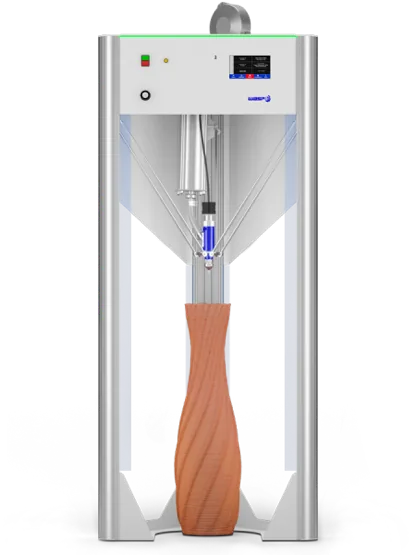
Clay 3D printers extrude clay layer by layer to build the whole piece without a mould, and they can work with different types of clay, such as porcelain and earthenware.

This technique makes possible forms and surface textures that are hard to achieve by hand.

  • One-off pieces without a mould
  • Distinctive layered textures that are hard to achieve by hand
  • Large sizes of up to a metre on large printers
A clay 3D printer printing a vessel
For repeat production at consistent sizes

Plaster moulds made by CNC

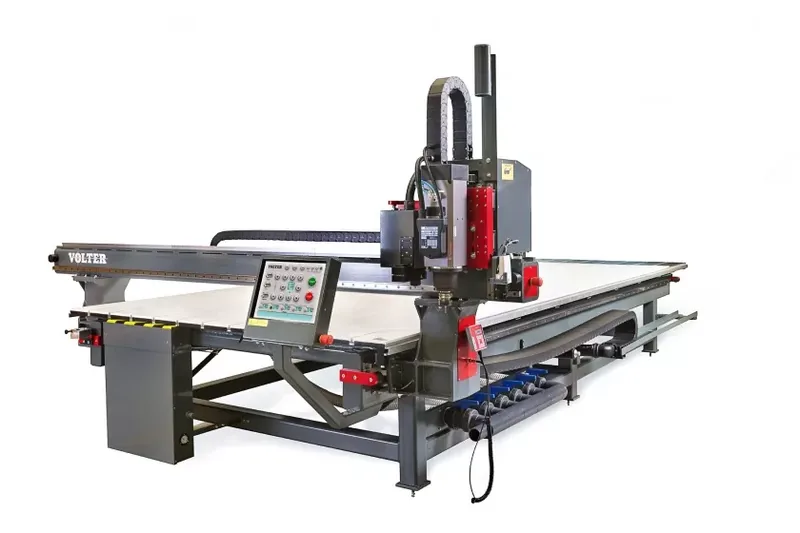
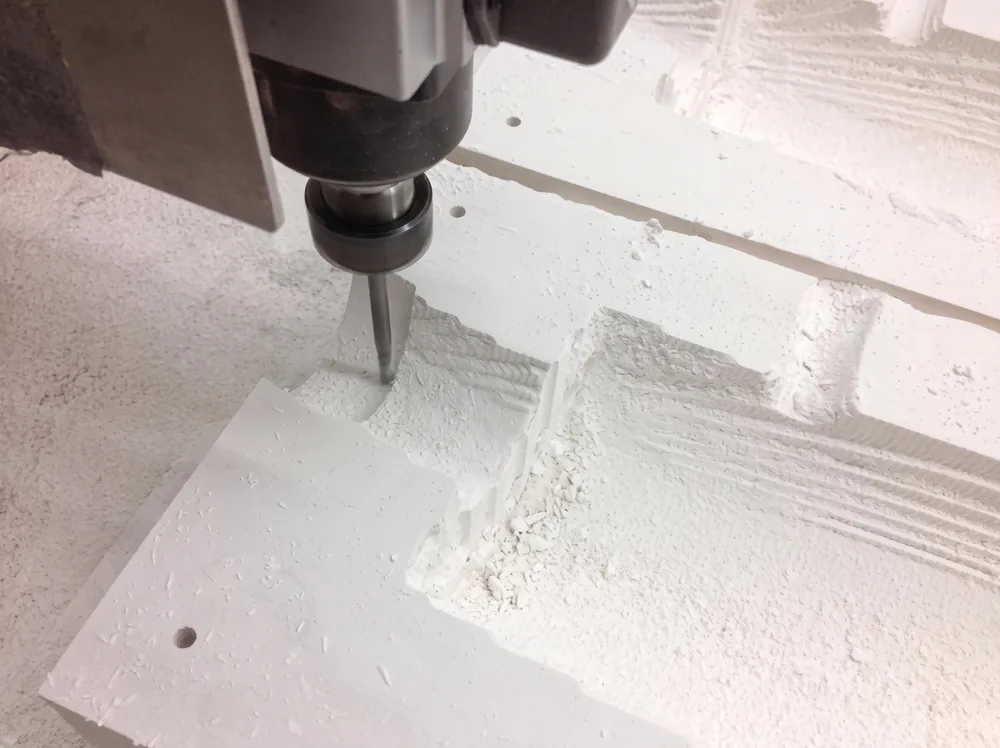
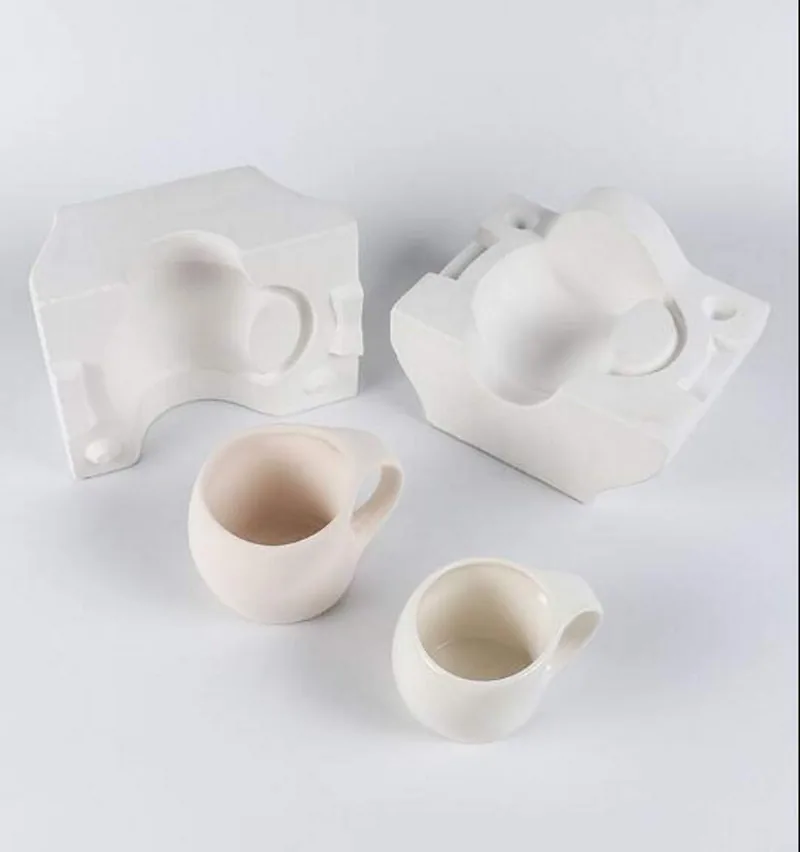
Instead of making a model by hand and then casting plaster around it, the mould is carved from a block of plaster on a computer numerical control (CNC) machine, which reproduces the design exactly as it is on the computer. The mould comes out with precise dimensions and a smooth surface, ready for slip casting.

Because the mould is produced from a digital file, it can be remade whenever needed, keeping the pieces identical across repeated casts.

Technology we use

A CNC machine for carving plaster moulds
STAGES 3 AND 4

Decoration and firing

Decoration and identity are added to the piece in four digital ways, then programmed firing fixes the form and colours.

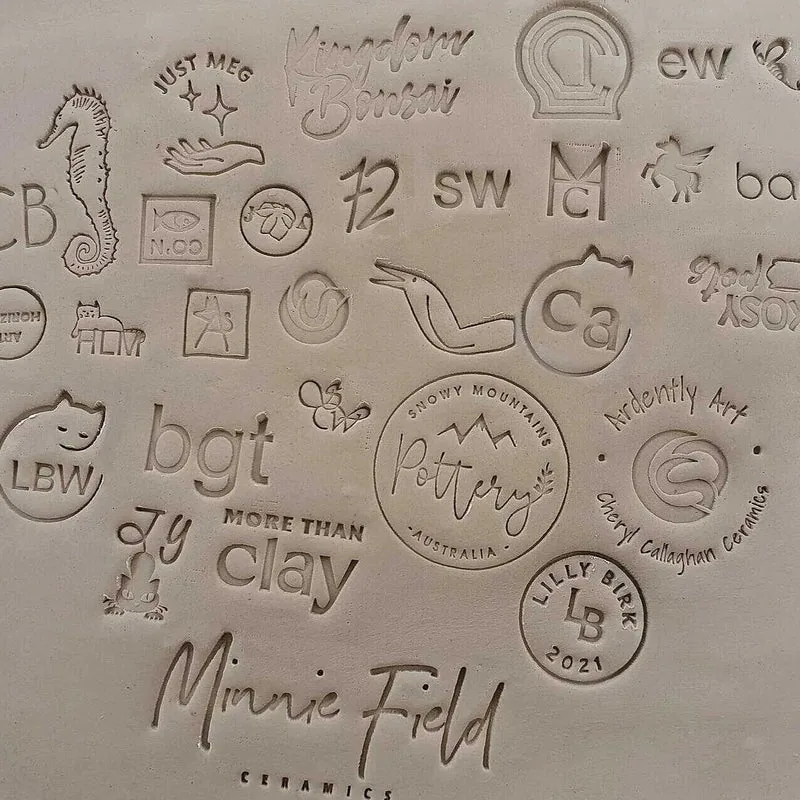
Relief stamps

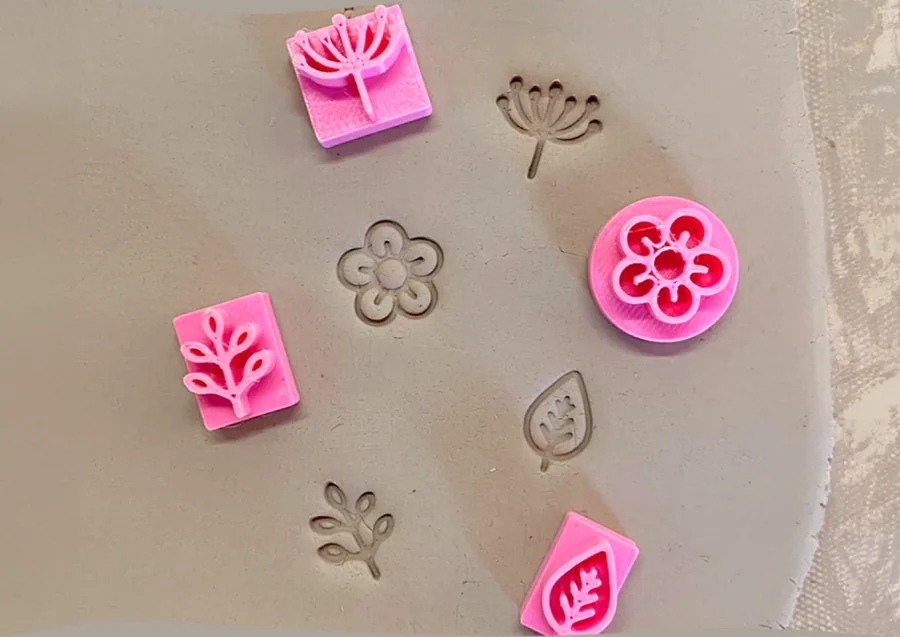
Relief stamps are made on 3D printers and pressed into the clay surface to add patterns and textures, alongside helper tools that make work easier during forming and casting.

  • Try out a new pattern quickly, without hand carving
  • Adjust pattern depth and size in the file before printing
  • Identical stamps that can be reprinted whenever needed
Plastic stamps made on a 3D printer and their impressions in clay
3D-printed stamps and their impressions in clay

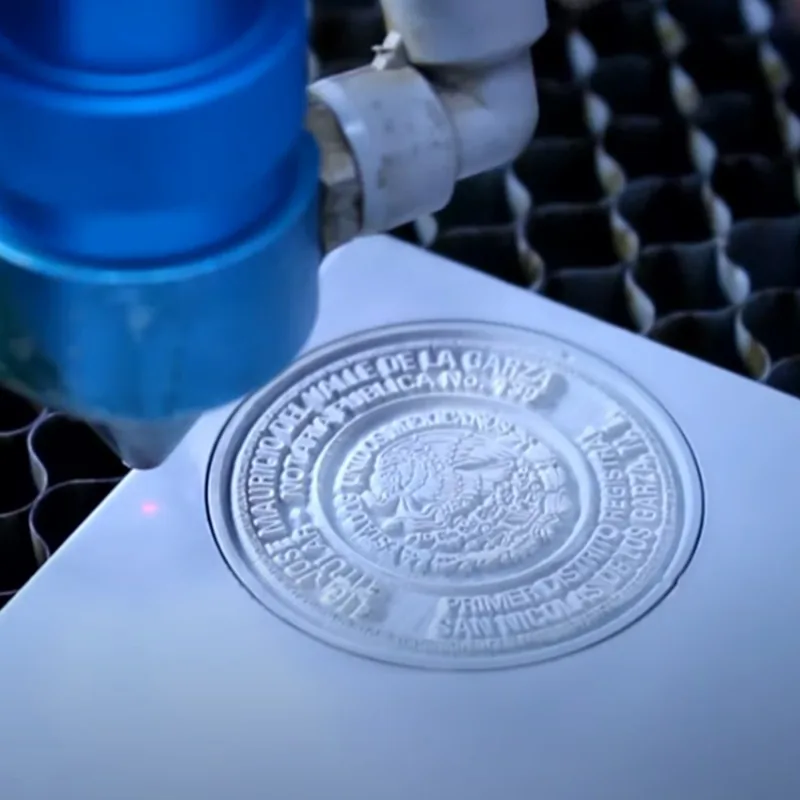
Laser-engraved logo stamps

Logos and decorative patterns are laser-engraved with high precision on sheets of materials such as acrylic. The stamp is then pressed into the clay while it is still soft, so the design is impressed with identical detail on every piece.

  • Clay does not stick easily to acrylic
  • Fine detail for logos and lettering
  • Stamps need careful storage, as acrylic can break
A laser head engraving a round stamp on an acrylic sheet
Laser engraving a stamp on an acrylic sheet

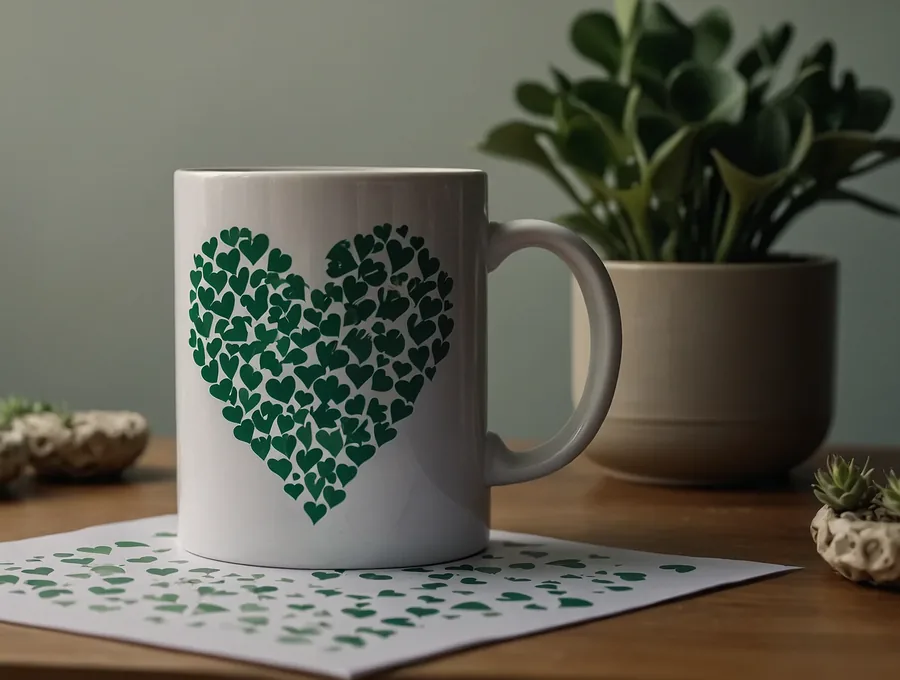
Ceramic decals

Colour images and logos are printed with ceramic toner on special transfer paper, then transferred to the surface of the piece and fixed by firing, so they become a permanent part of it.

  • Multicolour images and logos printed with digital-print precision
  • Suitable for ceramics, porcelain, tiles and glass
  • Permanent colours that fuse into the surface of the piece after firing
A white ceramic mug with a green heart pattern applied with a ceramic decal
A colour pattern transferred to a ceramic mug with a ceramic decal

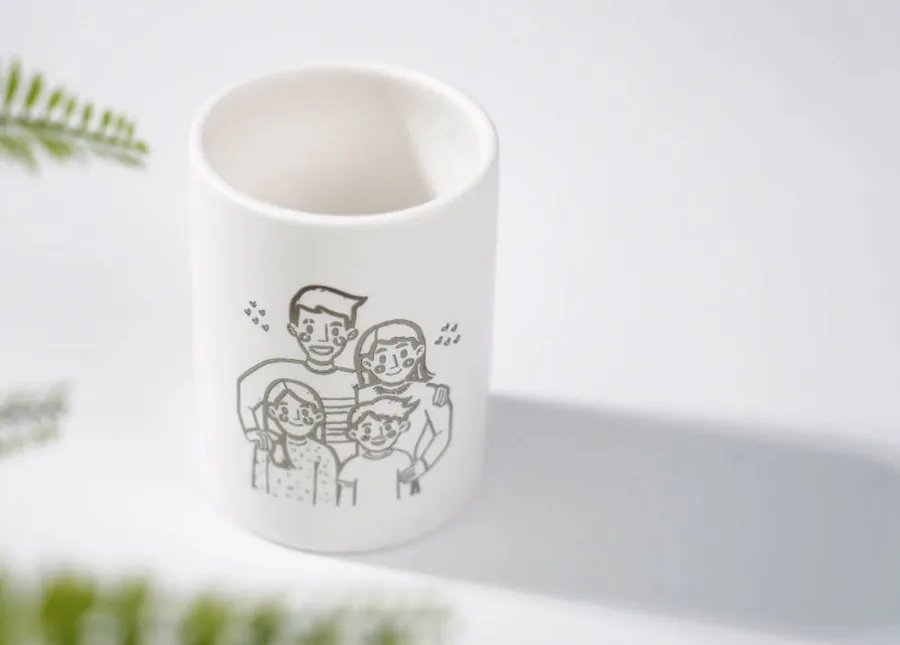
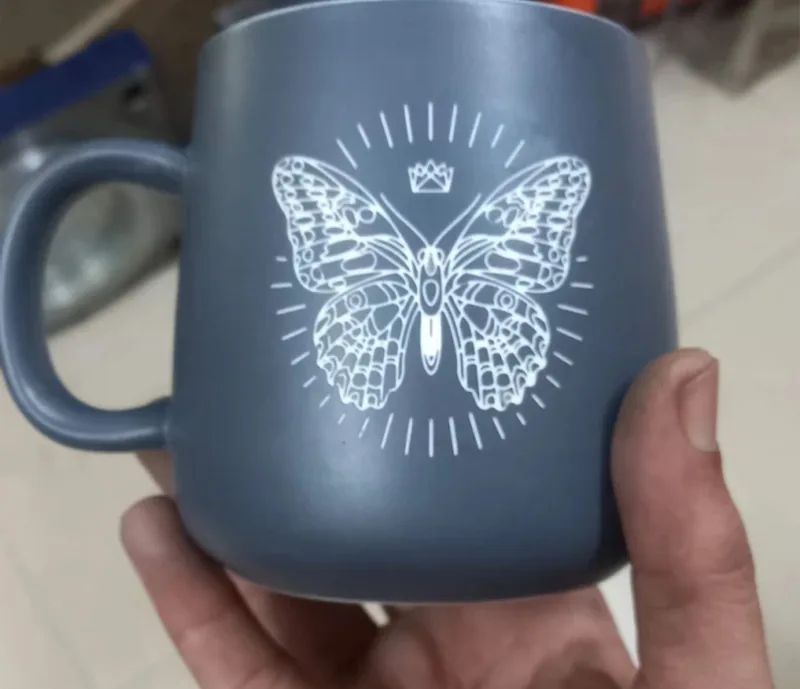
Direct laser engraving on pieces

The laser engraves logos, names and decorative patterns directly onto the surface of the glazed piece after firing, with no need for a stamp or decal, so each piece carries its own details.

  • Personalise each piece with a name, date or serial number
  • No stamp, decal or extra firing needed
  • Suitable for tiles, mugs, plates and commemorative plaques
A family drawing laser-engraved on a white glazed ceramic mug
A drawing laser-engraved on a glazed ceramic mug

Digital firing

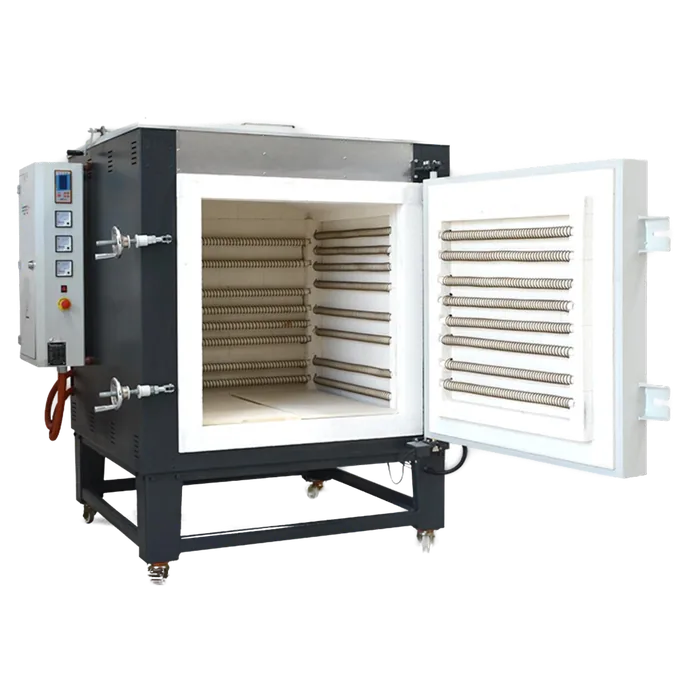
Firing is the last and most sensitive stage, as any mistake can waste the effort of all the earlier stages. Digital kilns allow precise control of the heating rate, peak temperature, hold time and cooling rate. Each firing programme is saved for reuse, so results stay consistent from batch to batch.

  • Saved programmes reused for every batch
  • Controlled cooling instead of uncontrolled cooling
  • Programmes verified with reference pyrometric cones
A digital kiln with its door open
A digital kiln

Planning your next step?

Tell us where you are today and where you want to be. A consultant will contact you.