DIGITAL MANUFACTURING · DIGITAL CRAFTS

Digital manufacturing techniques in woodwork

Carpentry is one of Oman's oldest crafts, as its carved doors, wooden windows, mandoos chests and traditional boats attest. The craft rests on the carpenter's expertise and precise handwork, but carving intricate patterns and cutting accurate joints takes considerable time and effort when it relies on hand skill alone. This is where digital manufacturing comes in: the idea becomes a computer file, and the file then becomes a wooden piece made with high precision that can be reproduced.

Atoms Lab brings these modern technologies to woodwork through an end-to-end pathway that starts with 3D design, or 3D scanning of existing pieces, moves through cutting and carving with CNC machines, lasers and 3D printing, and ends with assembly, decoration and finishing. Throughout, the company provides technical consultancy, selects and installs the right equipment, and trains people to operate it.

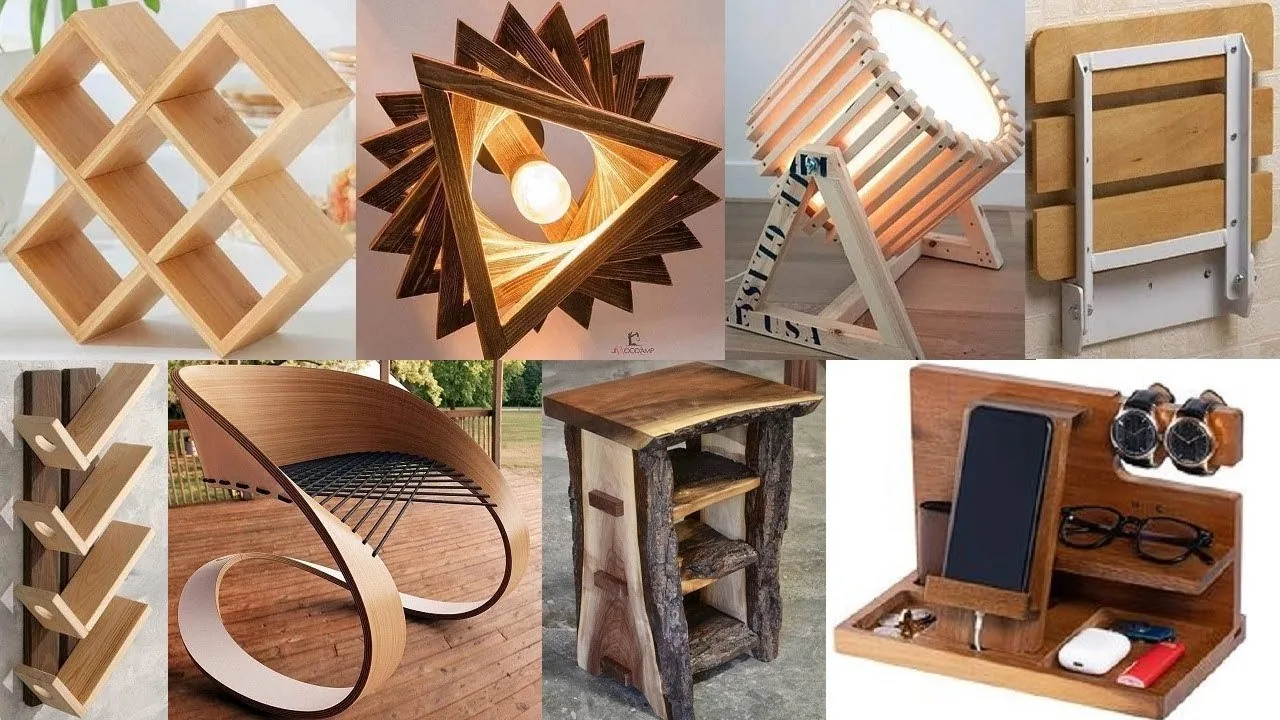
A collection of modern wooden pieces: shelves, lamps, a chair, a side table and a desk organiser
CRAFT AND DIGITAL TRANSFORMATION

What does digital manufacturing add to woodwork?

Traditionally, measurements are transferred to the wood by hand, joints are cut and ornament is carved with hand and power tools, and the accuracy of a piece and the time it takes depend on the carpenter's experience. It is also hard to repeat the same carving on several pieces without it varying from one to the next.

Digital manufacturing does not replace the carpenter's expertise; it adds tools that make the work more precise, faster and more flexible:

Quality and precision

The piece is drawn to exact dimensions on the computer and the machine cuts and carves it as designed, so joints match and parts fit together without lengthy adjustment by hand.

Speed

Boards are cut and joints and carvings are routed automatically, and several versions of a design can be tried on the computer before any wood is cut, shortening the time from idea to first piece.

Creativity and innovation

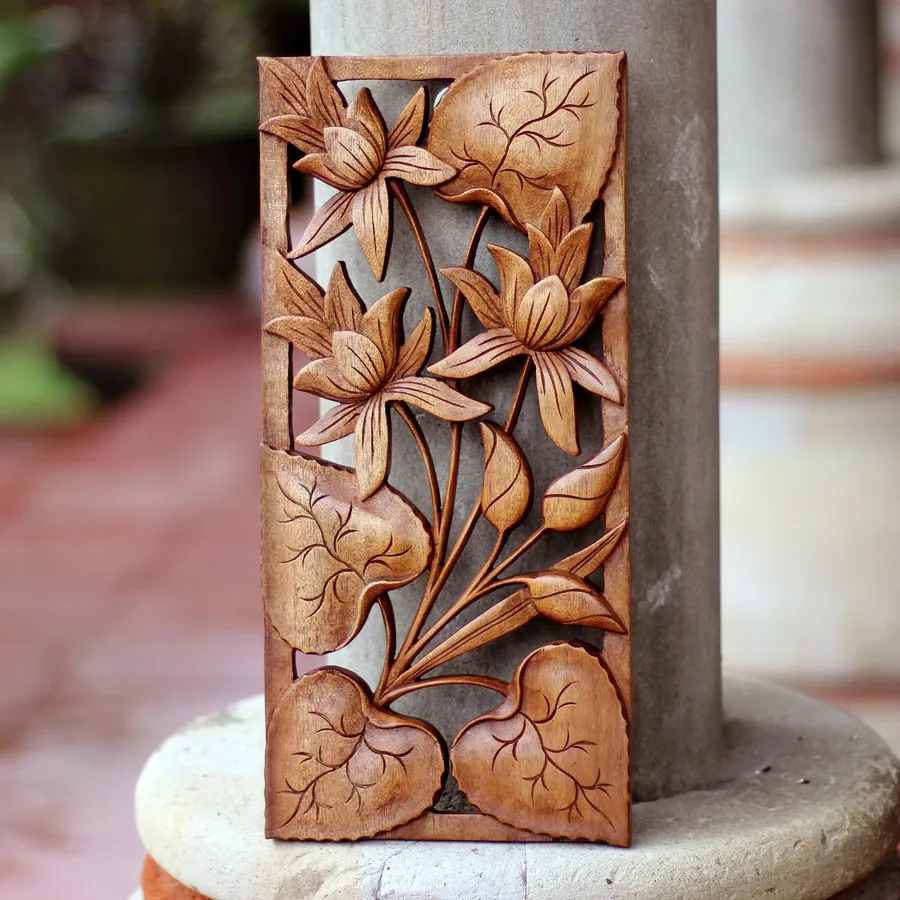
3D carving and laser engraving make possible geometric patterns, Arabic calligraphy and relief carvings that are hard to produce by hand, and traditional patterns can be redrawn digitally and developed further.

Repeatability and production

The design remains a digital file that can be cut again whenever needed, so identical pieces can be produced in larger quantities and any damaged part replaced with an exact copy.

Personalisation and identity

Each order can easily be resized or personalised with a name, logo or date, using laser engraving, CNC routing or direct printing on wood.

Less waste, preserved knowledge

Nesting software arranges parts on the board with as little waste as possible, errors are caught on the computer before any wood is cut, and designs are kept in a digital library that can be revisited and developed.

DIGITAL WORKFLOW

From idea to finished piece

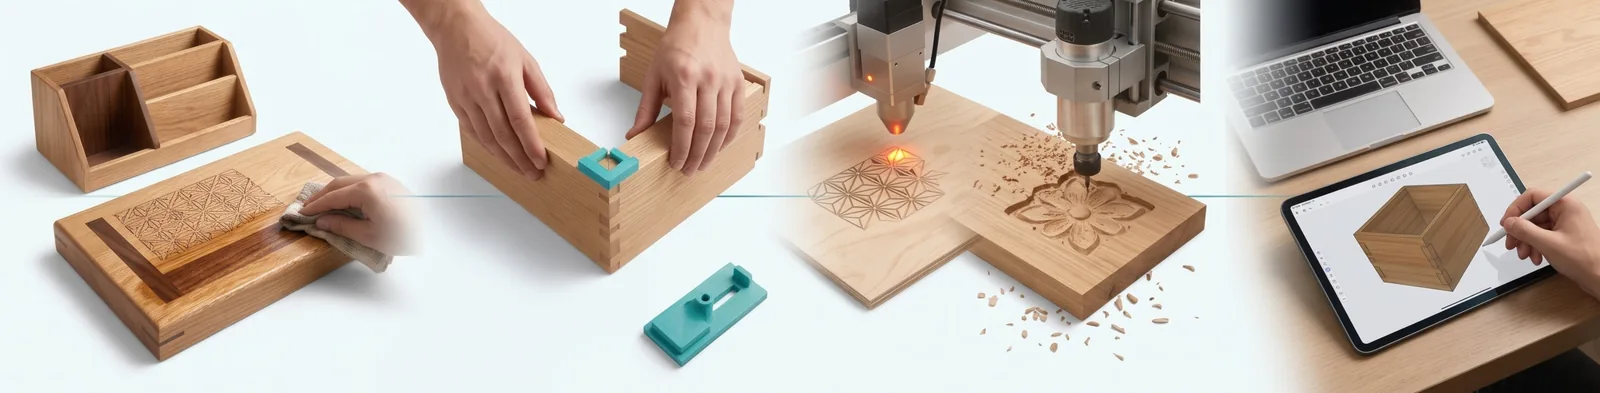
Producing a wooden piece digitally involves four main stages, all starting from the same digital file; the sections below cover each in detail.

The digital workflow: design on a tablet, then laser cutting and engraving and CNC carving, then assembling the parts with a printed jig, then decoration and finishing with oil
  1. 1

    3D design

    Drawing the piece on the computer or scanning an existing piece with a 3D scanner, allowing for grain direction and tool diameter, and preparing the cutting and engraving toolpaths.

  2. 2

    Cutting and carving

    Cutting boards, routing joints, carving and turning on CNC machines; cutting and engraving thin boards with a laser; and printing scale models and jigs.

  3. 3

    Assembly

    Fitting the parts together with precisely cut joints, aided by jigs made on a 3D printer.

  4. 4

    Decoration and finishing

    Engraving, inlay and direct printing on wood, followed by sanding and finishing with oils or varnish.

STAGE 1

3D design

From idea to production-ready file

Every piece starts as a digital model, designed precisely in 3D design software or captured from an existing piece by 3D scanning. The model takes account of the wood's grain direction, the board thickness and the diameter of the cutting tool.

The same file is used to prepare the CNC toolpaths and the laser files, and any change to the design is made on the computer in minutes rather than by recutting from scratch.

Technology we use
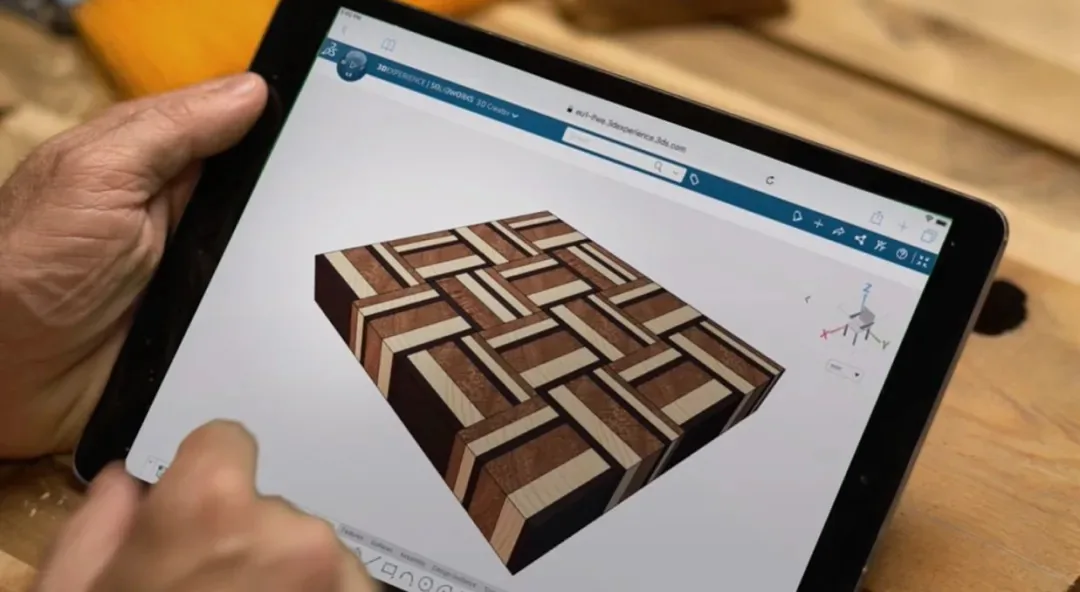
A 3D model of an inlaid wooden piece in SolidWorks on a tablet
STAGE 2: CUTTING AND CARVING

Tools for shaping wood

After design, the wood is shaped on a CNC machine for thick boards, joints, carving and turning; on a laser for thin boards, fine detail and engraving; or on both. The 3D printer supports the work with scale models and jigs.

For thick boards, joints and carving

CNC routers for wood

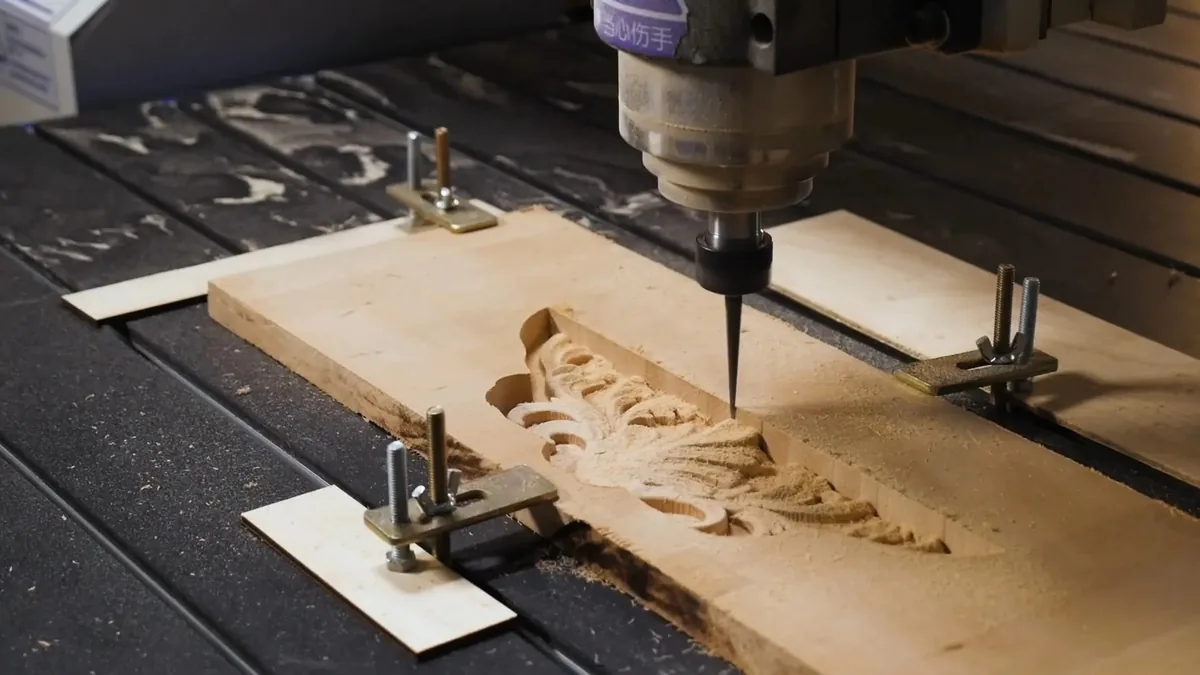
A computer numerical control (CNC) router cuts wooden boards, routes joints, recesses and patterns into them, and carves 3D surfaces, executing the design exactly as it is on the computer.

It works with solid wood, plywood and MDF (medium-density fibreboard), and suits doors, furniture and large panels.

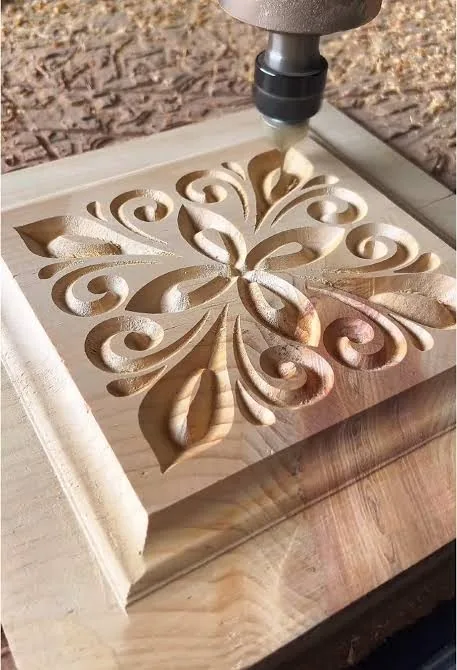
A CNC router carving a raised floral pattern on a clamped wooden board
For thin boards, detail and engraving

Laser cutting and engraving

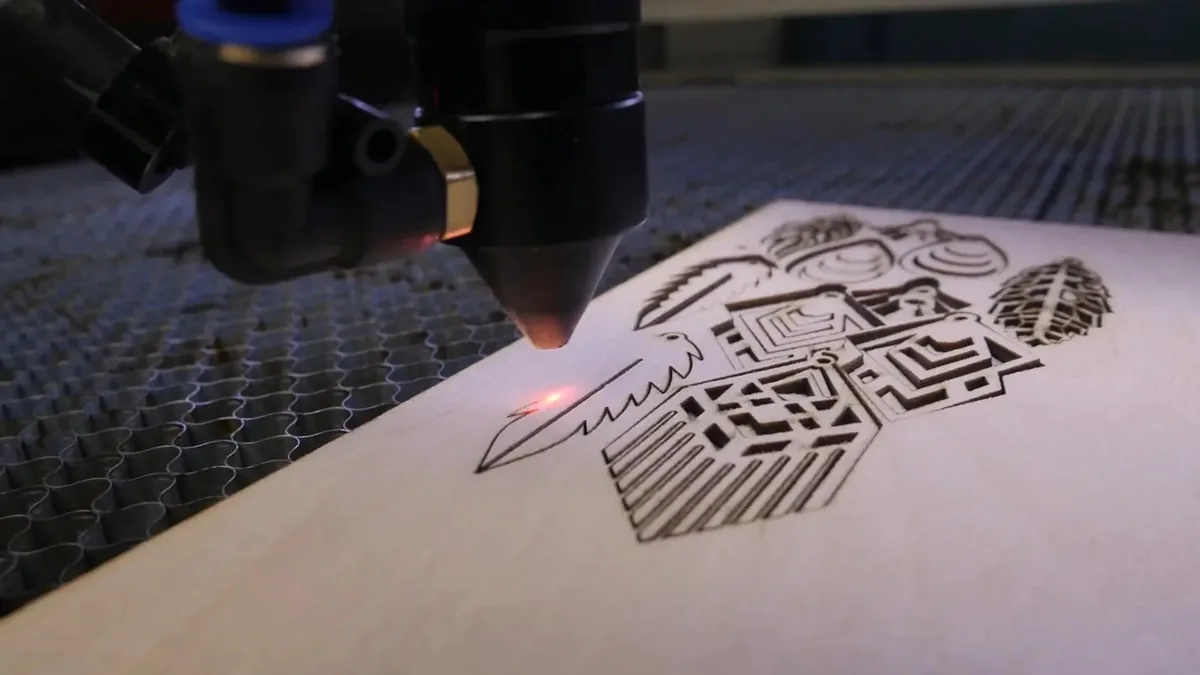
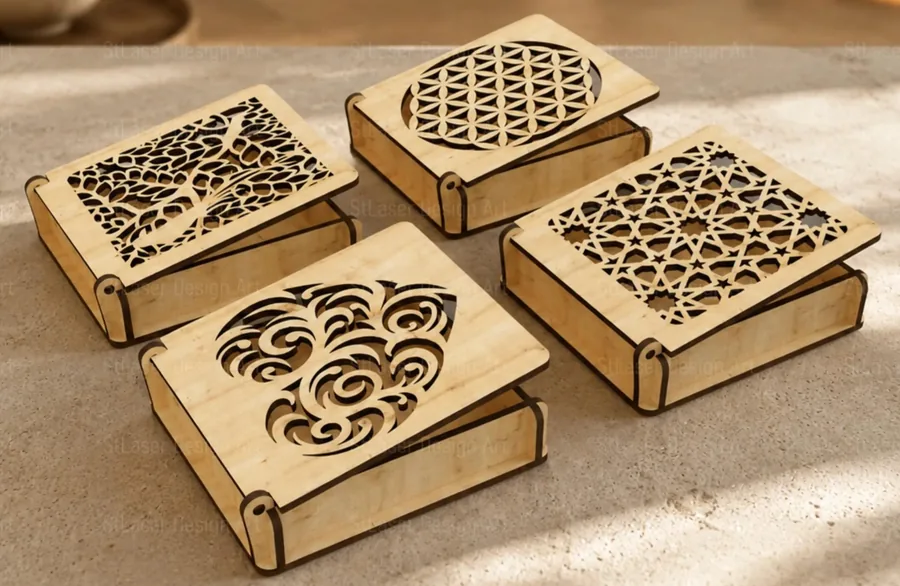
A laser cuts thin wooden boards with precise edges and engraves images, lettering and patterns on them without touching the wood.

It suits boxes, models, gifts and commemorative plaques, and personalising pieces with names and logos.

A laser head cutting and engraving geometric shapes on a wooden board

3D printing

3D printers such as the UltiMaker S7 print scale models of pieces before they are made in wood, as well as jigs and other aids that speed up assembly and keep it accurate.

  • Design checks before the wood is cut
  • Custom jigs for each piece
  • Reprints from the same file whenever needed
Scale model before cutting woodJig for an assembly corner
Illustration: a printed scale model of a furniture piece and a printed jig
STAGES 3 AND 4

Decoration, assembly and finishing

Ornament and identity are added to the piece using five digital methods; the parts are then assembled and finished to protect the wood and bring out its beauty.

V-carving

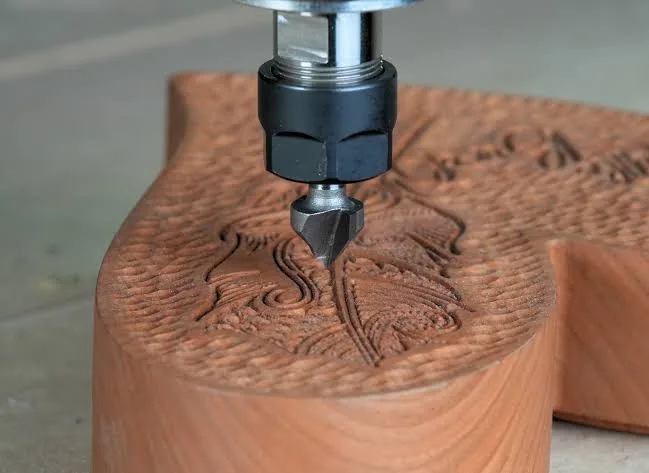
A CNC router carves lettering and patterns with a V-shaped bit, giving crisp edges and graduated depth that resemble hand carving.

  • Arabic calligraphy and lettering on plaques and doors
  • Geometric and floral patterns
  • The same carving, identical in detail, on several pieces
A V-shaped bit carving a pattern on a piece of wood
A V-bit carving a pattern in wood

Wood inlay

Wood is inlaid with another wood of a different colour by cutting a recess and a matching insert with the same bit, so the two parts fit together with high precision.

  • Natural colour contrast without dyes
  • Matching edges that are hard to achieve by hand
  • Software such as VCarve Pro calculates both parts automatically
1Recess in the base wood2Mirrored insert in another wood3Glue, then level flush
Illustration: the steps of V-carve inlay

Laser veneer inlay (marquetry)

Thin pieces of veneer in different colours are cut with a laser and then assembled, like a jigsaw puzzle, into a single picture or pattern.

  • Pictures and patterns in natural wood colours
  • Small, intricate pieces that are hard to cut by hand
  • The same design repeated on several pieces
Laser-cutting veneer piecesAssembled three-colour picture
Illustration: laser-cutting veneer pieces and assembling them

3D carving

A CNC router carves relief surfaces and sculptures from a 3D file in two stages: roughing and finishing.

  • Relief panels, sculptures and ornament for doors and furniture
  • A smaller ball-nose bit for fine detail
  • Light sanding after carving to remove tool marks

Technology we use

A CNC router carving a raised floral pattern on a wooden board
Carving a relief pattern on a CNC router

Direct printing on wood

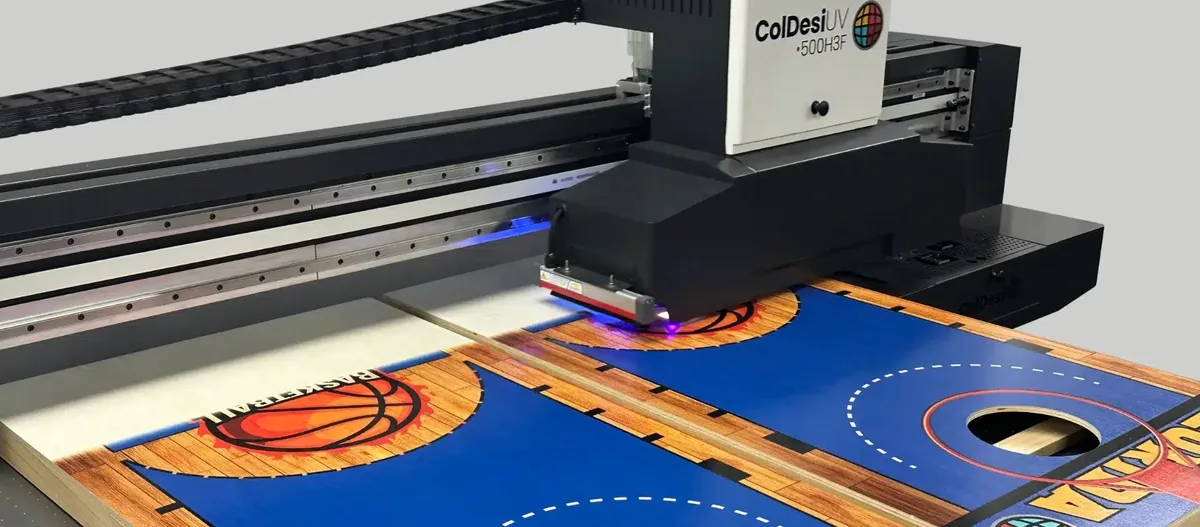
UV printers print full-colour images and logos directly onto the wood surface, and the ink cures instantly under UV light.

  • Full-colour images and logos on wood
  • Combines laser engraving and colour on the same piece
  • Suited to award plaques, gifts and samples in small quantities
A flatbed UV printer printing a colour design on a wooden board
Colour printing directly on a wooden board

Assembly and finishing

Parts are assembled with precisely cut joints and printed jigs, then the piece is sanded and finished with oils or varnish to protect it and bring out the beauty of the wood.

  • Precise joints that reduce the need for nails
  • Printed jigs for each piece
  • Balanced finish on both faces
Laser-cut wooden boxes with pierced lids and interlocking edges
Laser-cut boxes assembled with interlocking joints

Planning your next step?

Tell us where you are today and where you want to be. A consultant will contact you.